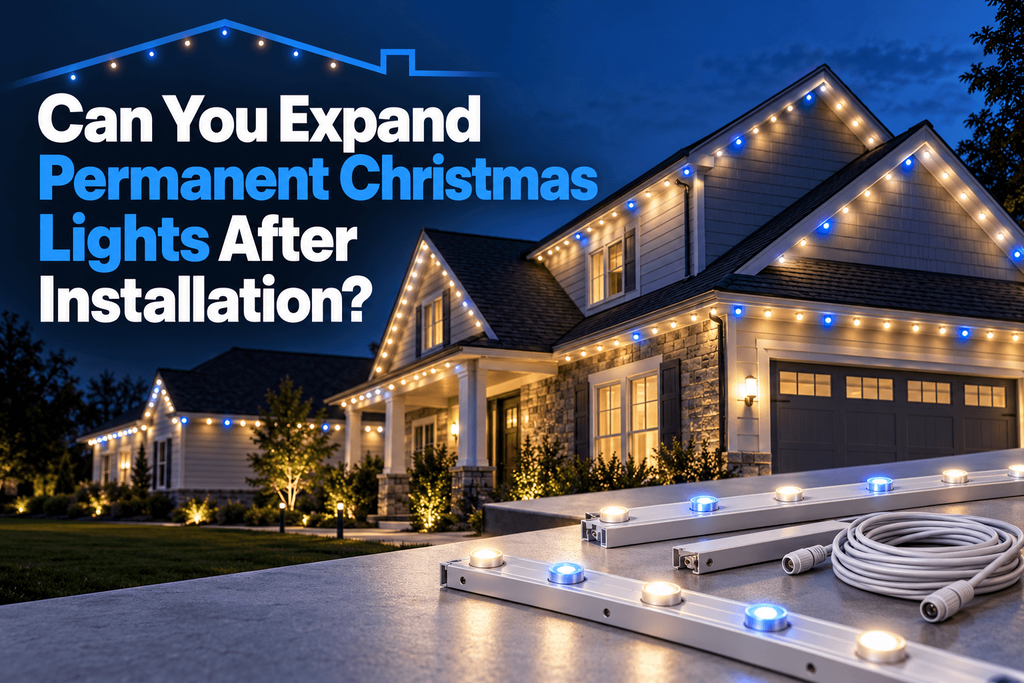
Yes, you can often expand permanent Christmas lights after installation. Adding a garage, side roofline, or backyard section requires checking the existing system’s compatibility, controller capacity, and power requirements. The expansion also needs suitable mounting channel, a planned wiring route, and updated settings so the new lights work correctly.
Starting with the front of your home and adding coverage later can make a large project manageable. Before purchasing extra strands, document what you already have and measure the area you want to illuminate.
What Should You Check Before Adding More Lights?
Your existing equipment determines the expansion plan. Locate your original order information, installation guide, and any labels on the controller and power supply.
Gather these details:
- Light model, size, and spacing.
- Operating voltage and LED type.
- Controller model and installed software.
- Power supply rating.
- Number of lights connected to each output.
- Existing power-feed locations.
- Channel dimensions and finish.
Photograph the connections and sketch the current layout. This gives the supplier useful information when checking compatible parts.
If the original installation already has flickering or unreliable sections, resolve those problems before extending it. A working baseline makes testing the addition easier.
How Much More Lighting Can Your Controller Support?
Expansion capacity depends on several limits working together: controller capability, output ratings, power supply capacity, wiring, and the supported LED configuration.
Check the instructions for your particular kit. A controller’s advertised coverage applies within the manufacturer’s specified installation conditions.
Review Each Output Separately
Record the lights assigned to each output. Available capacity may require connecting the addition through a different output or reorganizing the layout.
For example, adding a side elevation could involve a new cable route from the controller. Measure that route before assuming the nearest existing light provides a suitable connection point.
Confirm The Software Version
Settings and setup procedures can vary across controller generations. Identify the software already running on your system and use the corresponding instructions.
Ask support to confirm any requirements for operating older equipment alongside a new controller.
Do New Lights Need To Match The Existing System?
Compatibility requires checking electrical specifications, communication requirements, connectors, and physical fit.
A connector that appears to fit still needs verification. Confirm its wiring arrangement, voltage, and intended application before connecting components.
Appearance matters too. Different light sizes, spacing, or white-light characteristics can make an addition noticeable. Matching the original product specifications helps maintain a consistent roofline.
Send the supplier your order number and clear photographs if the model is uncertain. Ask about replacement compatibility if your original components have changed or become unavailable.
How Does Expansion Affect Power Planning?
Additional LEDs increase the electrical load. Longer cable routes also influence voltage drop, which can contribute to dimming or unstable operation.
The expansion plan may require another approved power-feed location, different wiring, or an additional controller and power supply.
| Expansion Situation | Planning Question |
| Adding A Short Roofline Section | Can the existing output and power arrangement support it? |
| Extending To The Back Of The House | How long will the lighting and cable routes become? |
| Adding Another Roof Level | Where can wiring run and remain accessible? |
| Lighting A Detached Garage | Does the building need a separate controller and power source? |
| Adding Many More LEDs | What equipment changes does the manufacturer recommend? |
Have the supplier review the layout before purchasing electrical components. Follow the approved wiring plan, including specified protection and connection methods. Disconnect power before making changes.
How Should You Measure The New Section?
Measure every part of the intended mounting route, including horizontal eaves, slopes, returns, and corners.
Keep two totals in your notes:
- Illuminated footage: Areas receiving lights and channel.
- Connecting cable footage: Routes crossing gaps or reaching equipment.
A 30-foot roofline addition may need additional cable to reach the controller or connect around an interruption. Include those distances in the material list.
Record the channel color and profile as well. Photograph the existing finish in daylight to help assess the appearance of adjoining sections.
What Happens To App Settings And Lighting Effects?
The controller needs an accurate configuration for the expanded installation. Depending on the system, setup may involve updating LED counts, output assignments, zones, or segments.
Save screenshots or a supported configuration backup before changing settings. Record existing schedules and favorite effects.
After connecting the addition, check:
- Every new light responds.
- Colors display correctly.
- Effects travel in the intended direction.
- Existing zones still cover the correct areas.
- Timers and saved scenes include the desired sections.
Multiple controllers may require additional coordination settings. Confirm the supported process for your software before planning synchronized effects across separate buildings.
What Should You Budget For An Expansion?
Build the budget from a complete parts list. Include lights, channel, cables, connectors, mounting hardware, and any required control or power equipment.
Labor and access equipment can also affect the total. Upper-story sections, difficult corners, and long cable routes add work.
Ask for a parts recommendation based on your existing equipment and proposed layout. This helps identify expenses before installation begins.
If you plan another phase later, keep the measurements and component records together. That information can save time when the next section is ready.
How Should You Test The Addition?
Test compatible new components in a safe, dry location before permanent mounting. Follow the manufacturer’s setup instructions and inspect the parts for shipping damage.
Once installed, test the full system at its approved operating settings. Check solid colors, white output where supported, and your usual effects.
Watch for inconsistent colors, flickering, or sections that stop responding. Check wiring and configuration through the manufacturer’s troubleshooting process before closing accessible channel sections.
Frequently Asked Questions
Can You Expand Lights Installed Several Years Ago?
An older system may support expansion. Confirm available replacement parts, controller support, and compatible wiring before ordering. Purchase records help identify the correct generation.
Will Adding Lights Affect Warranty Coverage?
Coverage depends on the applicable warranty terms and installation requirements. Ask the supplier about approved components and modifications, and retain receipts for the addition.
Can You Add A Section You Control Separately?
Some systems support separately configured zones or additional controllers. Confirm the capabilities of your equipment and software before designing independently controlled areas.
Plan Your Next Lighting Section
A successful expansion starts with accurate equipment records, measured routes, and a reviewed power plan. Contact ShawTech Lighting with photos and details of your existing permanent Christmas lights to confirm the parts and setup needed for your next section.
About the Author