
[ad_1]
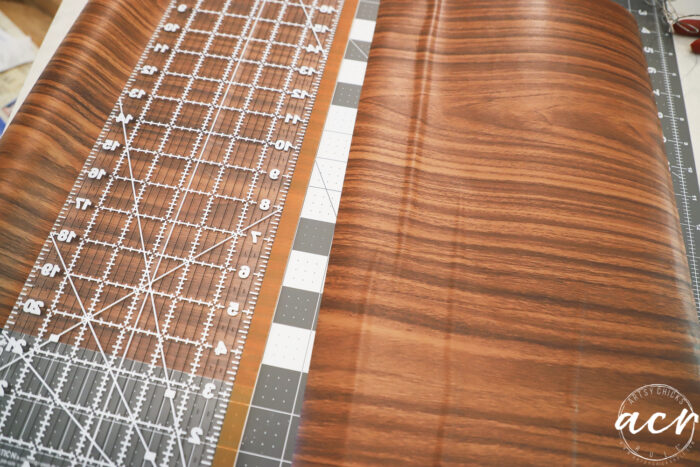
This wood look vinyl gives any project that wood look quickly and easily!

Hello friends!
It’s trash to treasure day and I’m sharing a brand new makeover. A little something I fixed up for my husband and gave it sort of a more “manly” look with the white/copper and wood look vinyl.
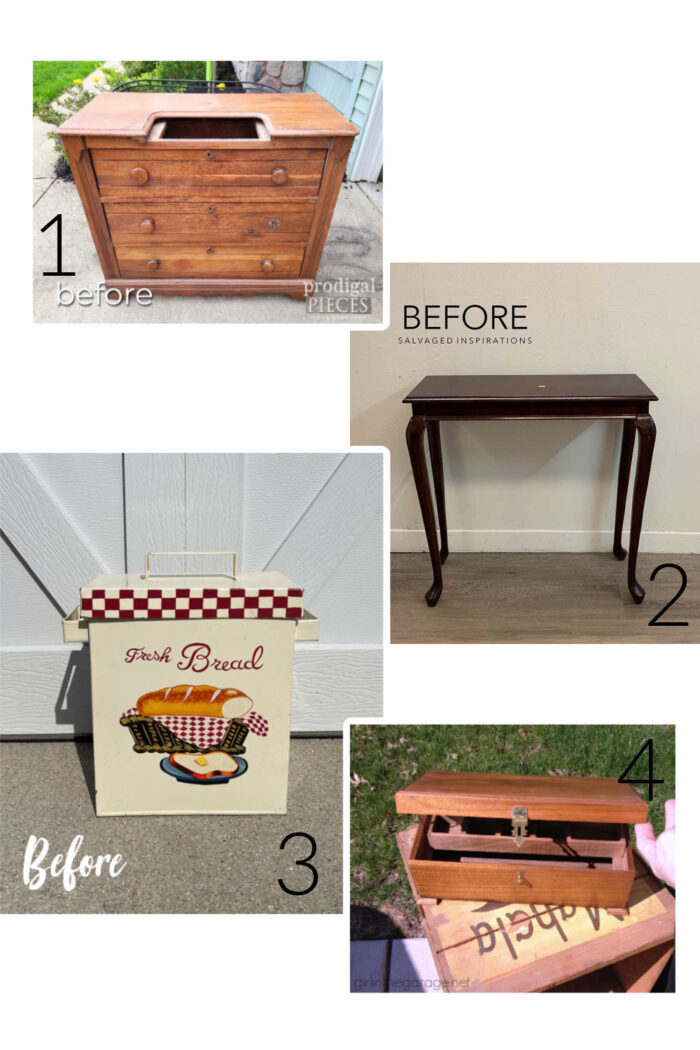
My friends are sharing their makeovers too so be sure to scroll on down to the bottom!
This is something I picked up at the thrift store a while back. It’s not part of any of my big hauls, just something I saw on an outing!
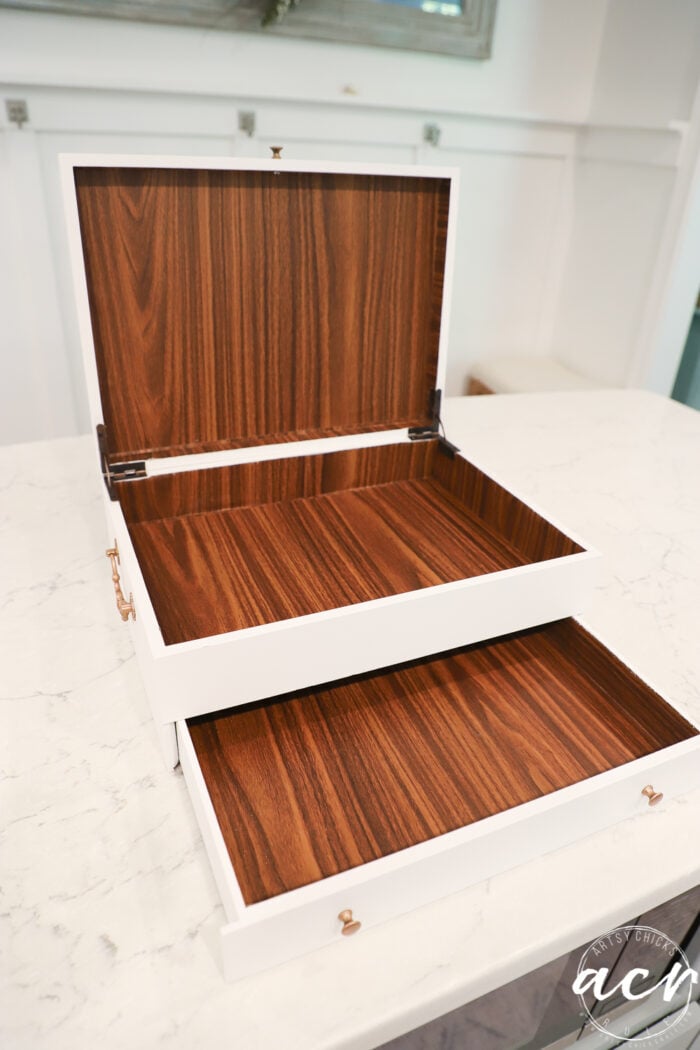
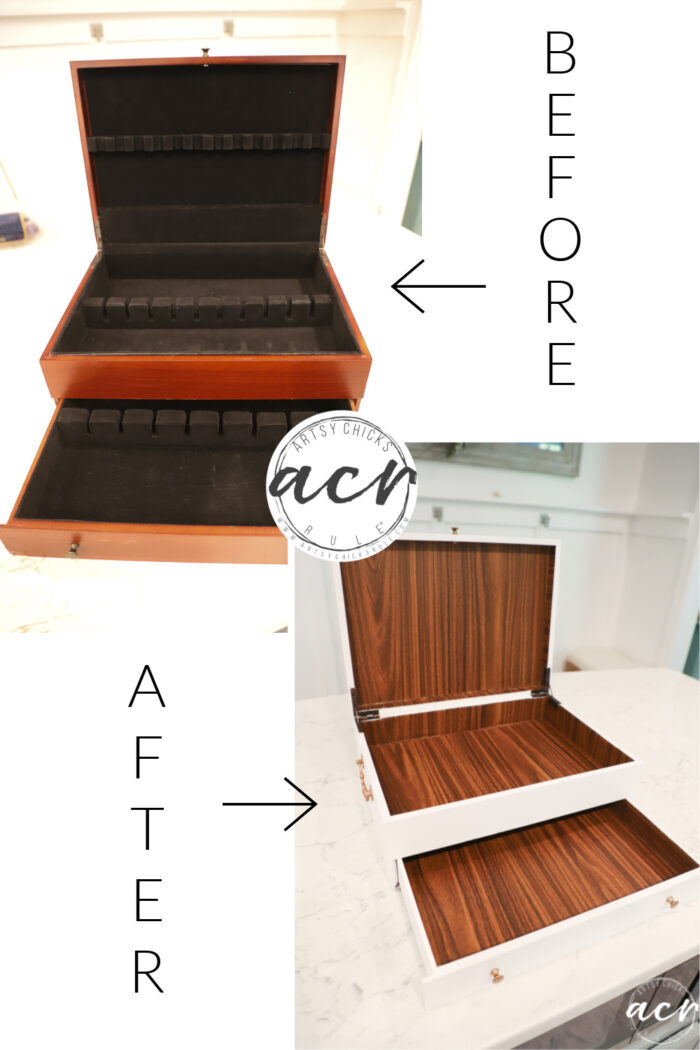
Wood Look Vinyl Makeover (flatware box redo)
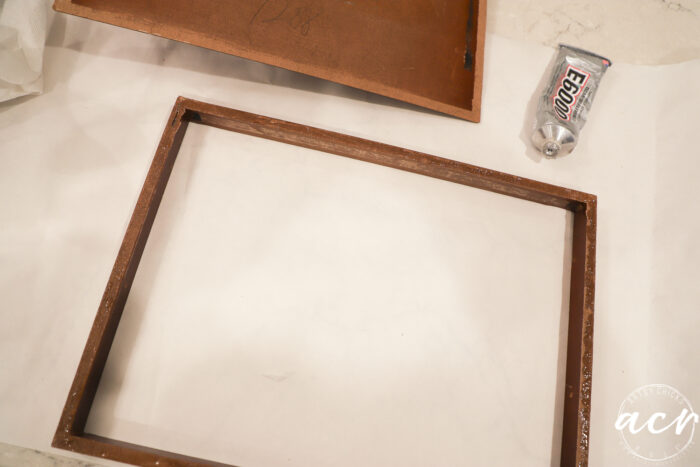
Here it is “before”…
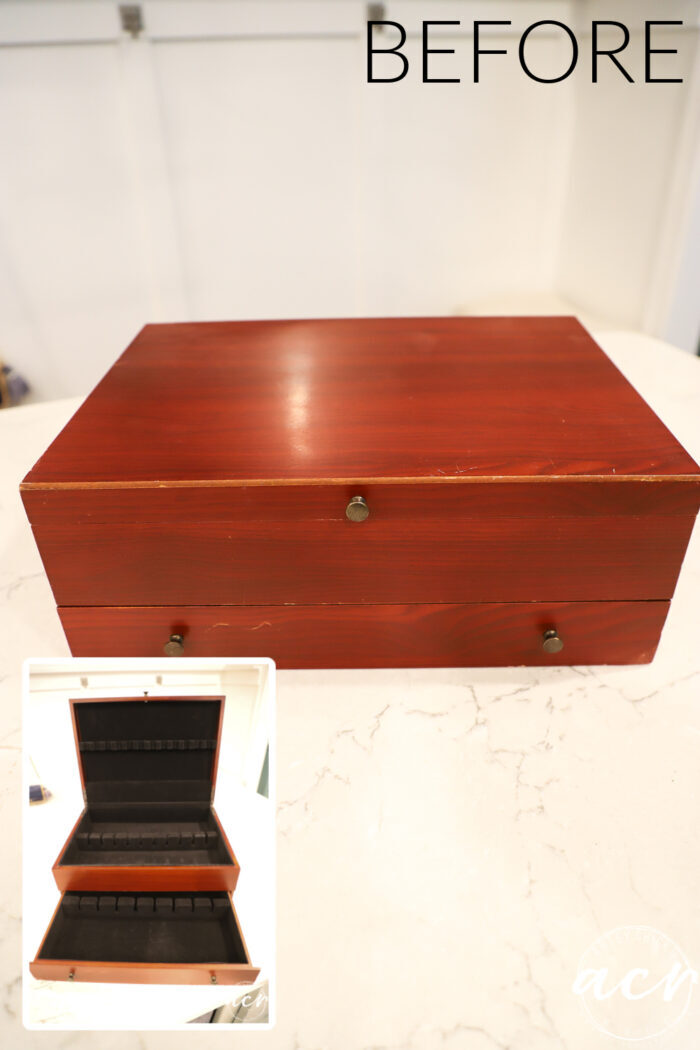
I can find these all day long at the thrift stores. They are great little storage boxes and you can find them so cheap.
Most of them are real wood, this one is not, unfortunately.
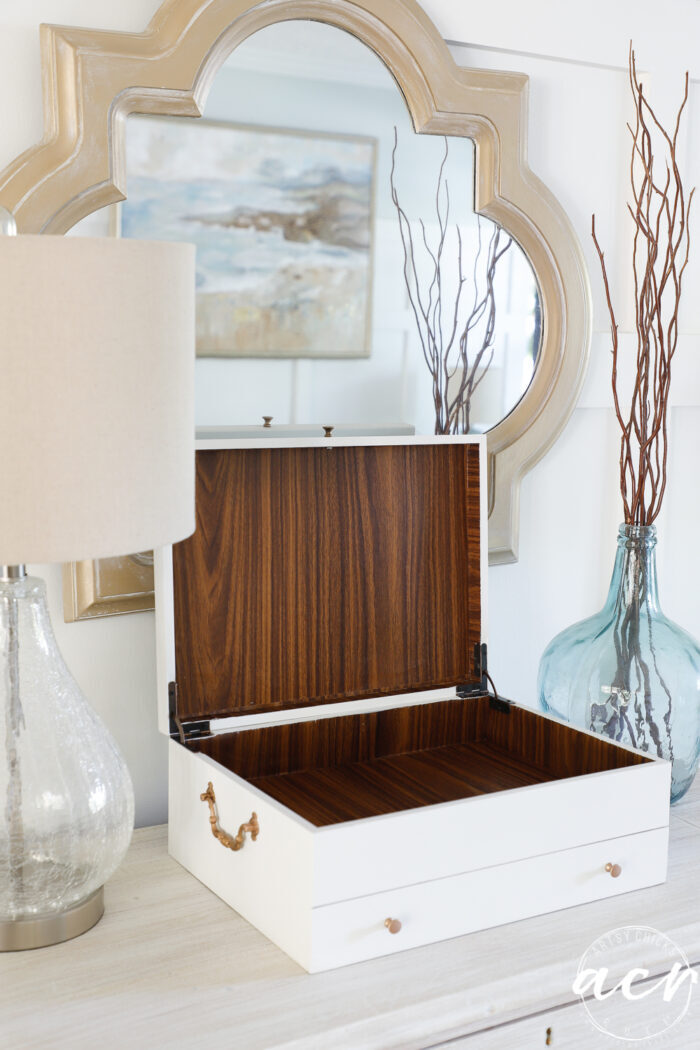
But I used wood look vinyl on the inside to give it the look of wood.
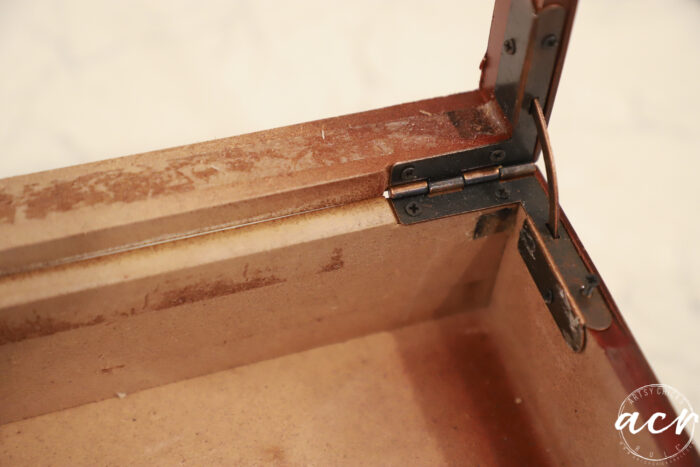
The only thing I dislike about these flatware boxes are the insides. They are usually such a bear to remove.
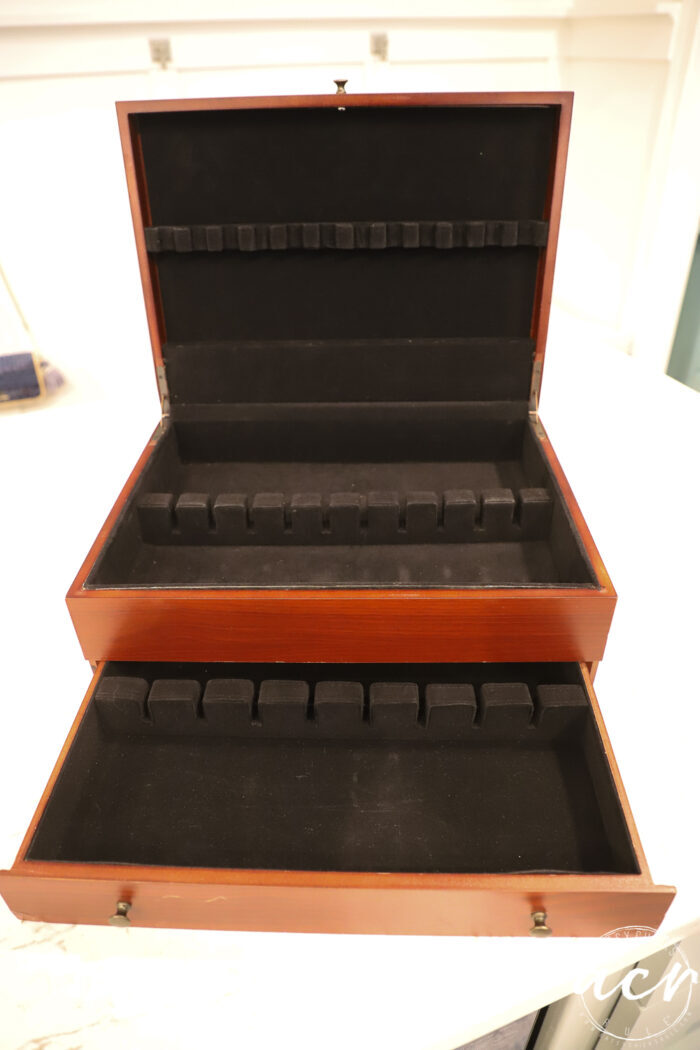
This one wasn’t too bad, actually.
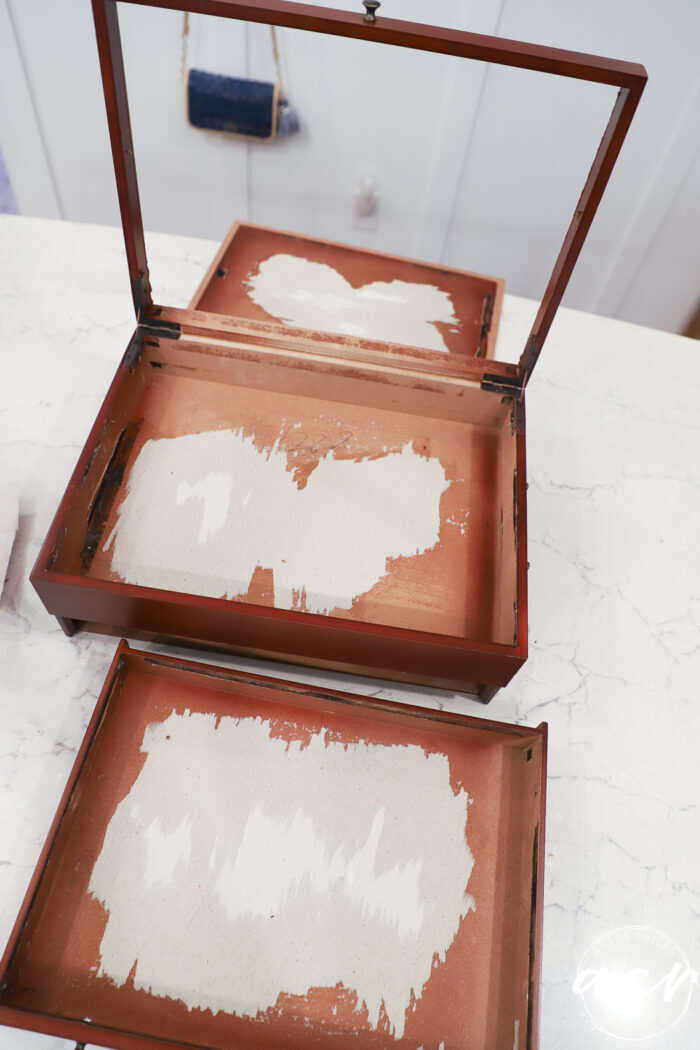
Unfortunately, the top piece came apart as I was trying to remove the insides.
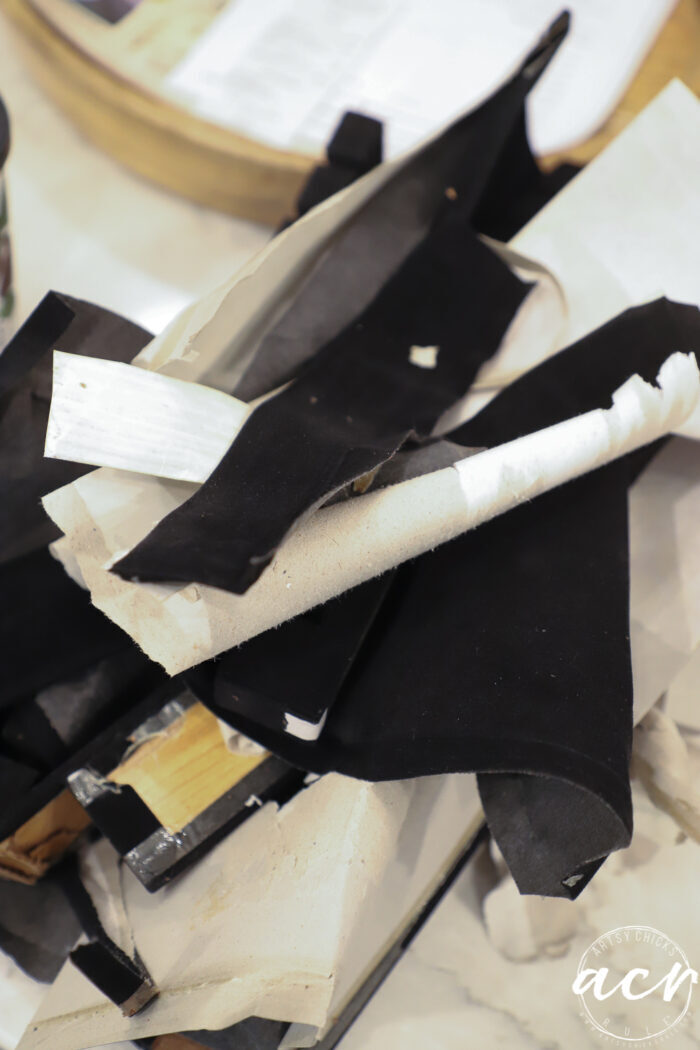
And what came out of it…
I unscrewed the top from the bottom to easily access when attaching the vinyl and painting.
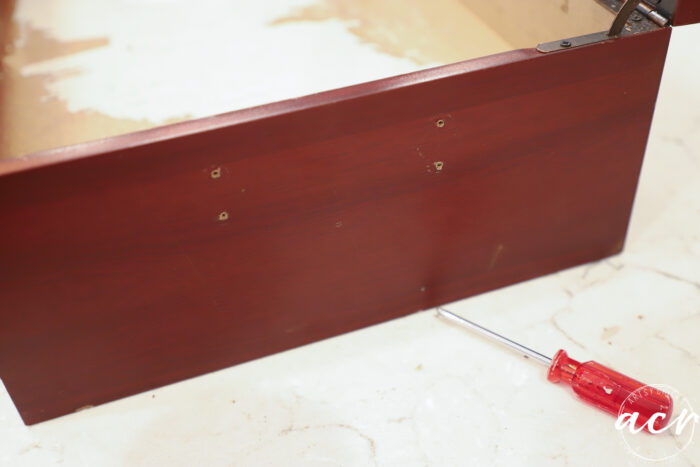
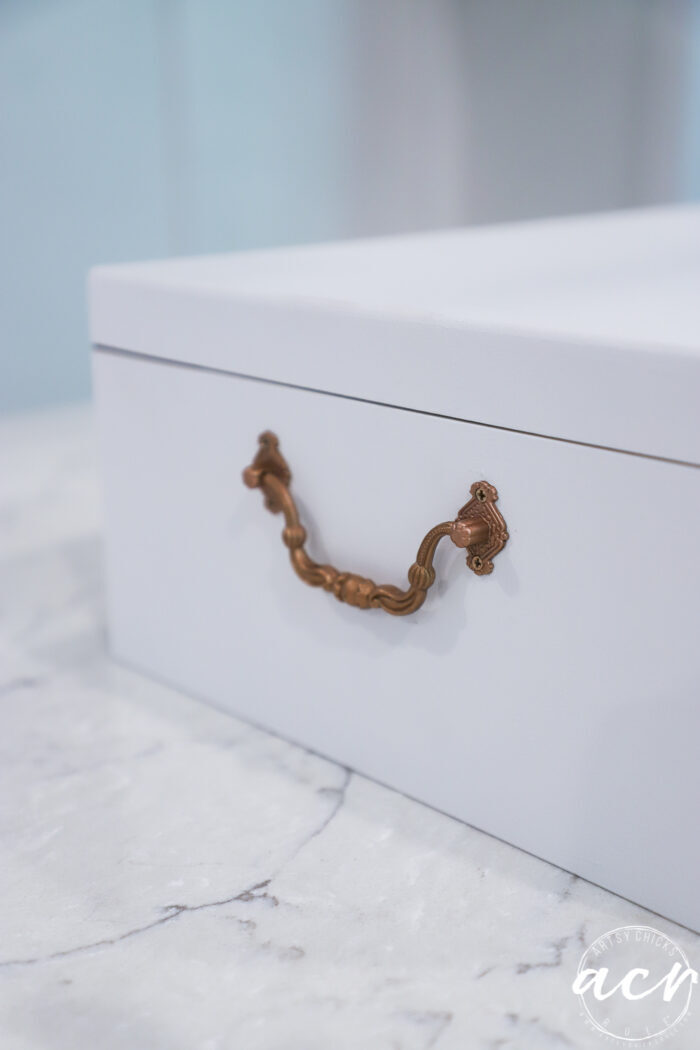
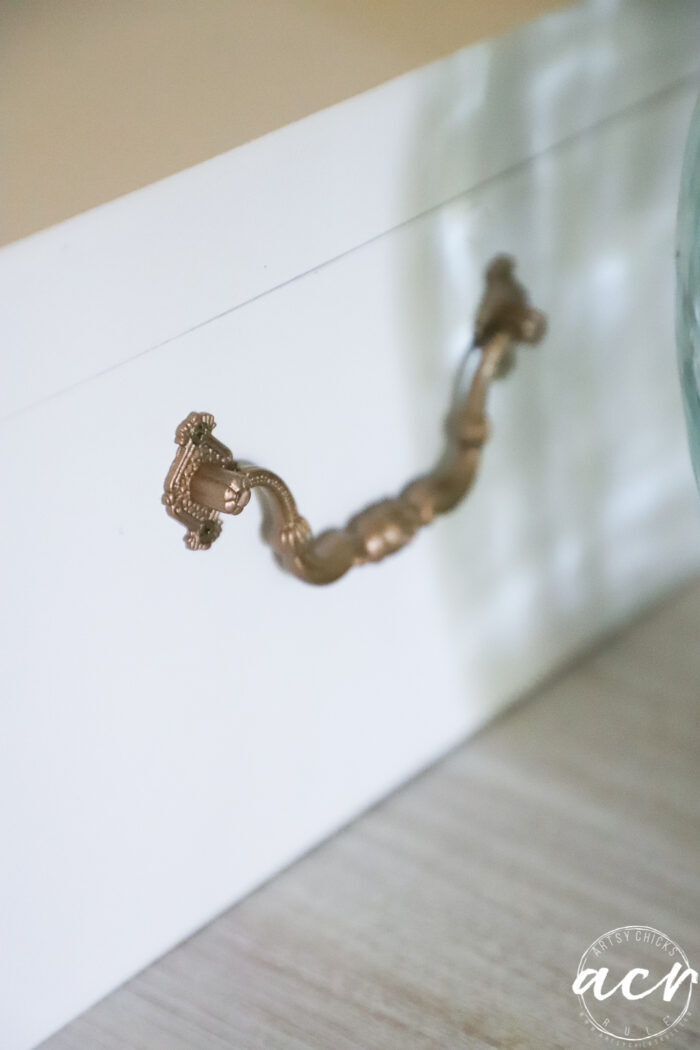
I took the knobs and handles from the sides…
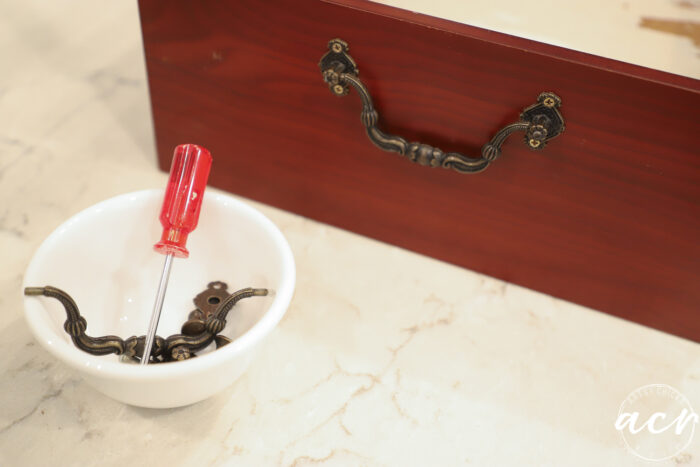
…and sprayed them a pretty copper color.
I glued the top pieces back together using E6000 glue and let it sit overnight.
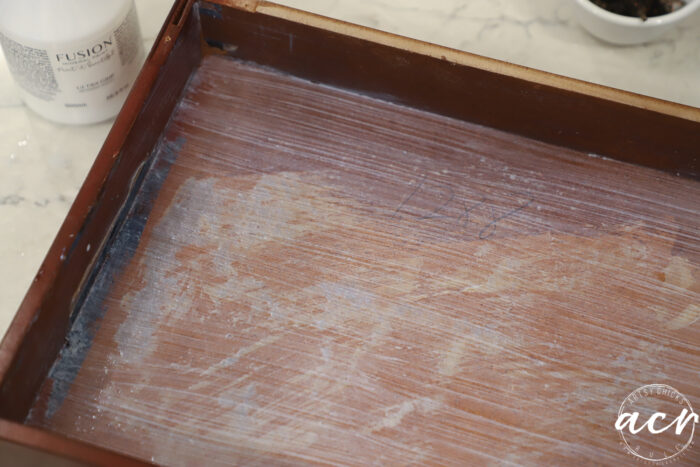
I removed as much of that paper as I could and then sanded it to smooth it out.

I then applied Ultra Grip to seal up the fake wood base and make it so the wood look vinyl would stick better.
I don’t think it would have stuck to this cardboard/pressboard “wood” very well.
Next, I measured and cut the vinyl sections and applied…
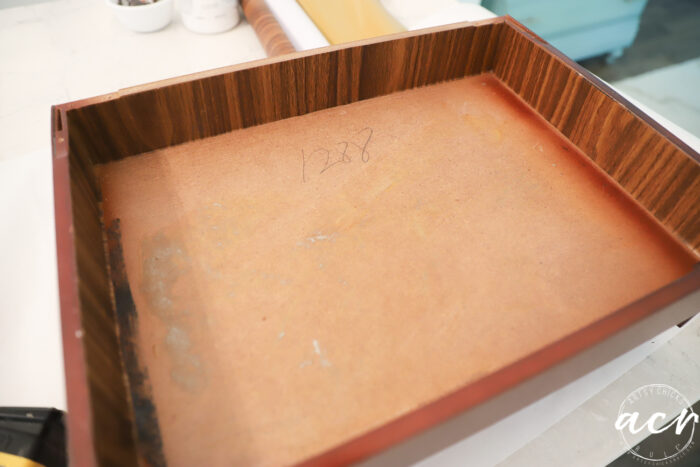
Once that was done, I began painting.
I also applied Ultra Grip on the outside and used 2 coats of paint after that. (I let the Ultra Grip sit overnight before painting)
I reattached the “new” copper color hardware and done!
Love that Fusion Mineral Paint does not need to be sealed. You can but you don’t have to.
I didn’t seal this one.
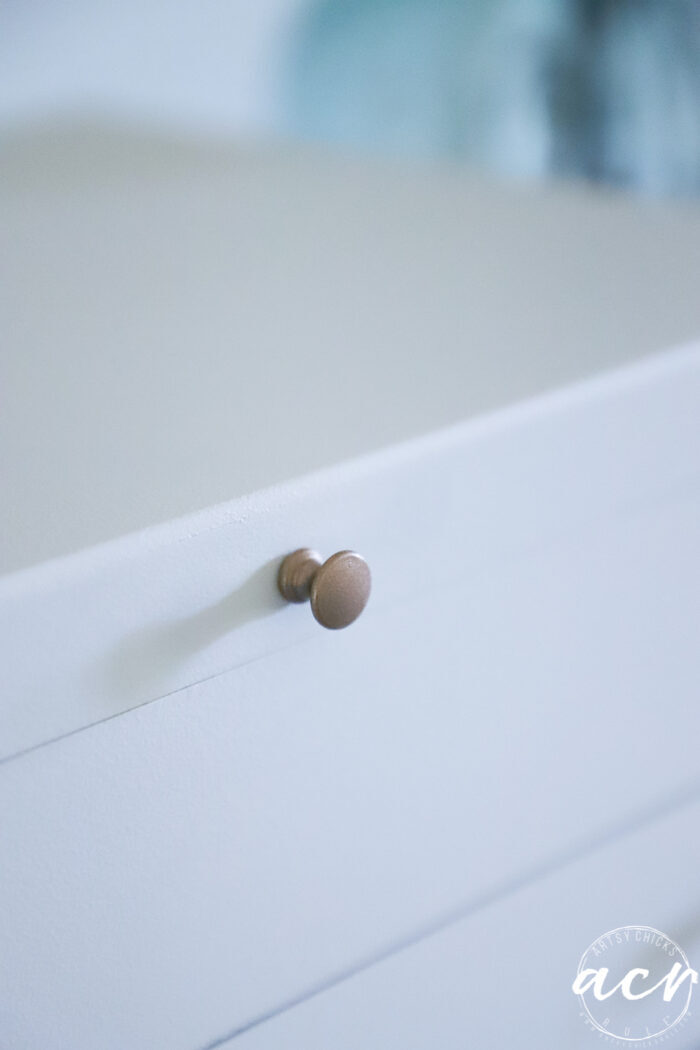
Just love this copper color.
Here is where my husband will use it…
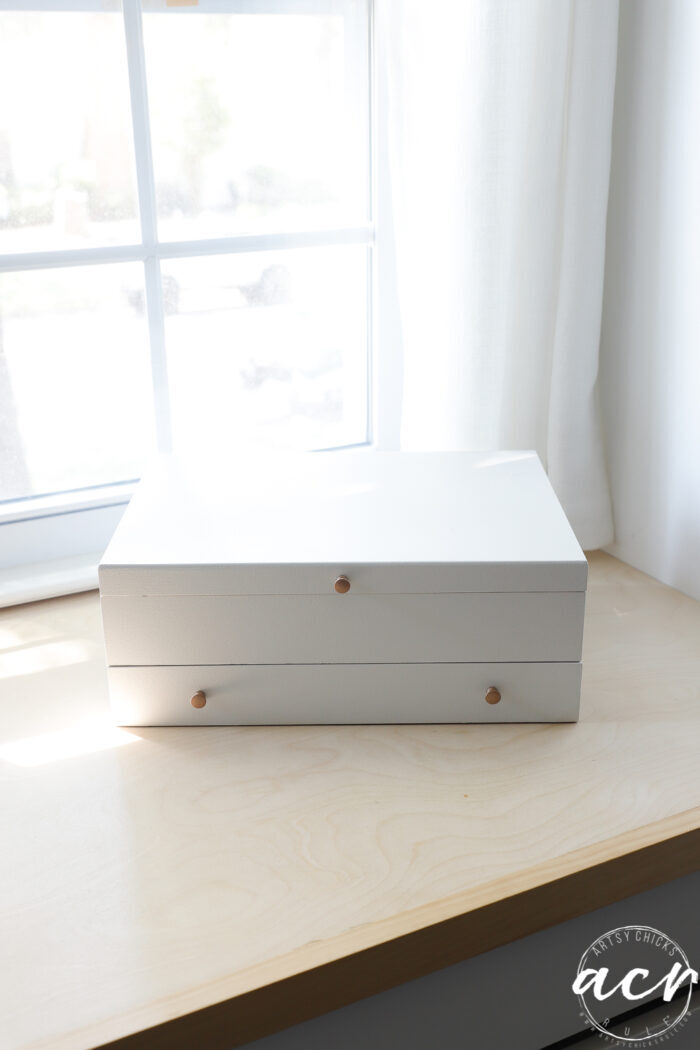
…up on his built-in in our bedroom. Pay no mind to the unfinished wood top. I am still trying to decide if I will stain that or paint it.
I *think* I have decided to stain it because I can always paint after if that’s not the look we want.
I will be sharing the bedroom and his built-in soon, just a few things to do on the built-in before we reveal. This poor project got pushed to the back burner! ha!
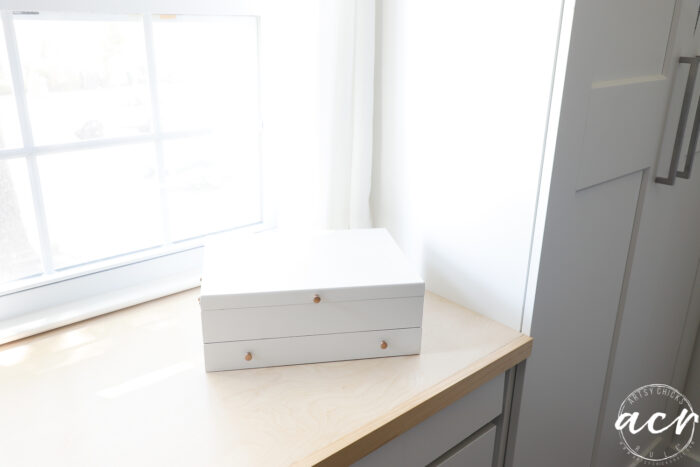
You can see a little sneak peek of it in that photo. So I need to caulk all around the built-in, stain that top and we need to add decorative door fronts to his IKEA plain PAX set up there.
Anyway, back to the wood look vinyl flatware box.
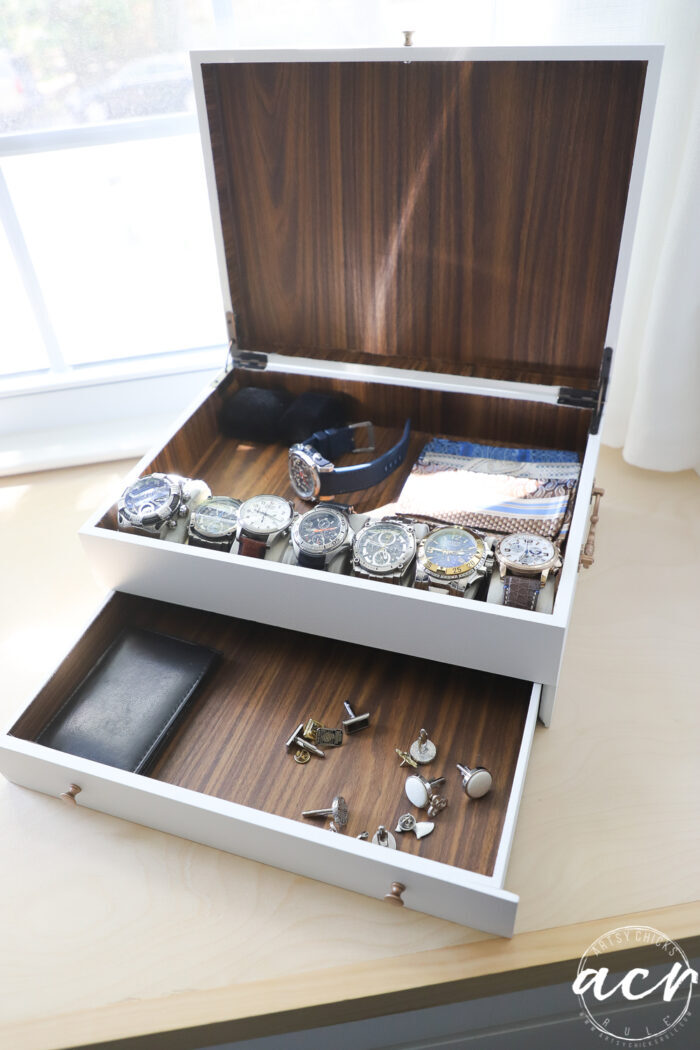
It will be a nice little spot for him to keep his cuff links, watches, rings, etc.
Just as a reminder, this is the very same vinyl I used on our nightstands in our bedroom. It’s holding up great, by the way!
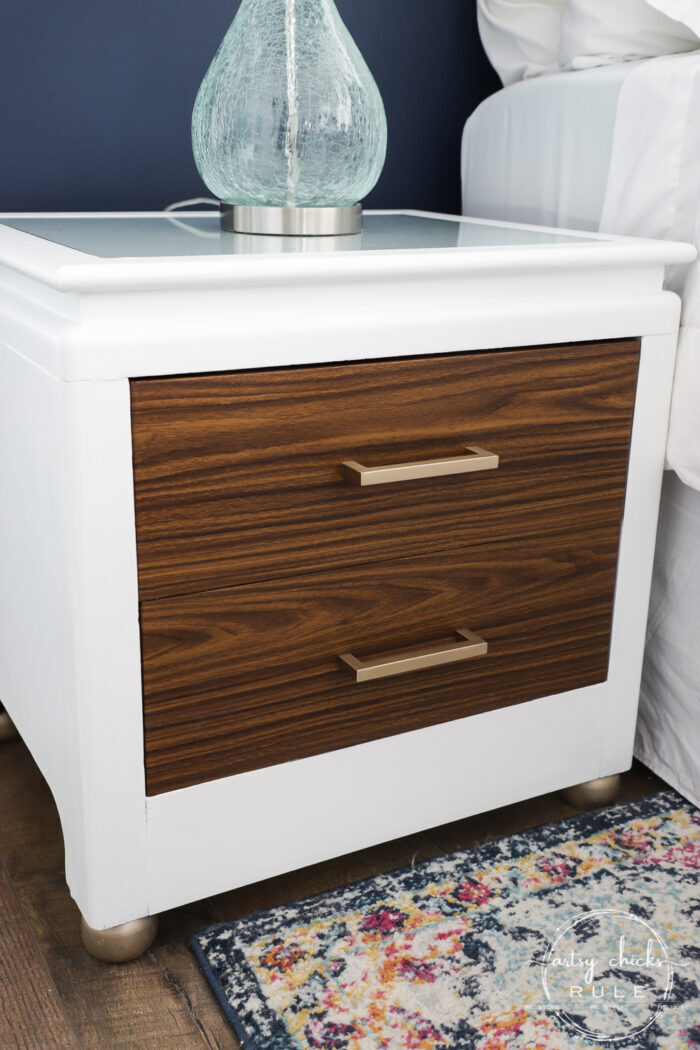
You can see that post, right here >>> Wood Grain Vinyl Nightstand Makeover
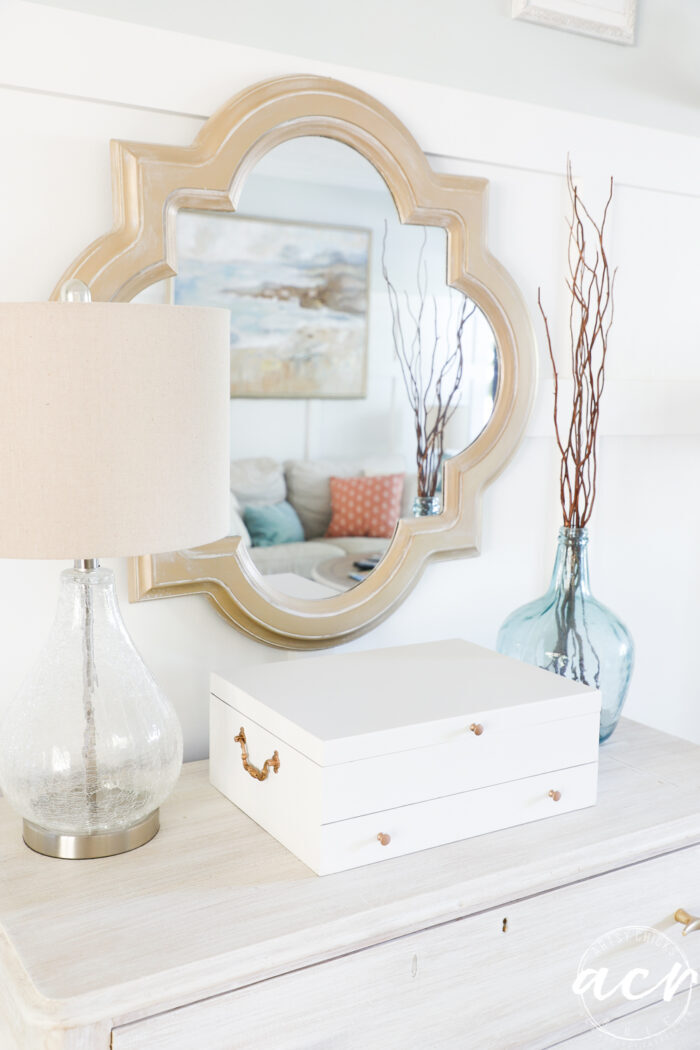
And now a”pretty” photo or two of it all finished…
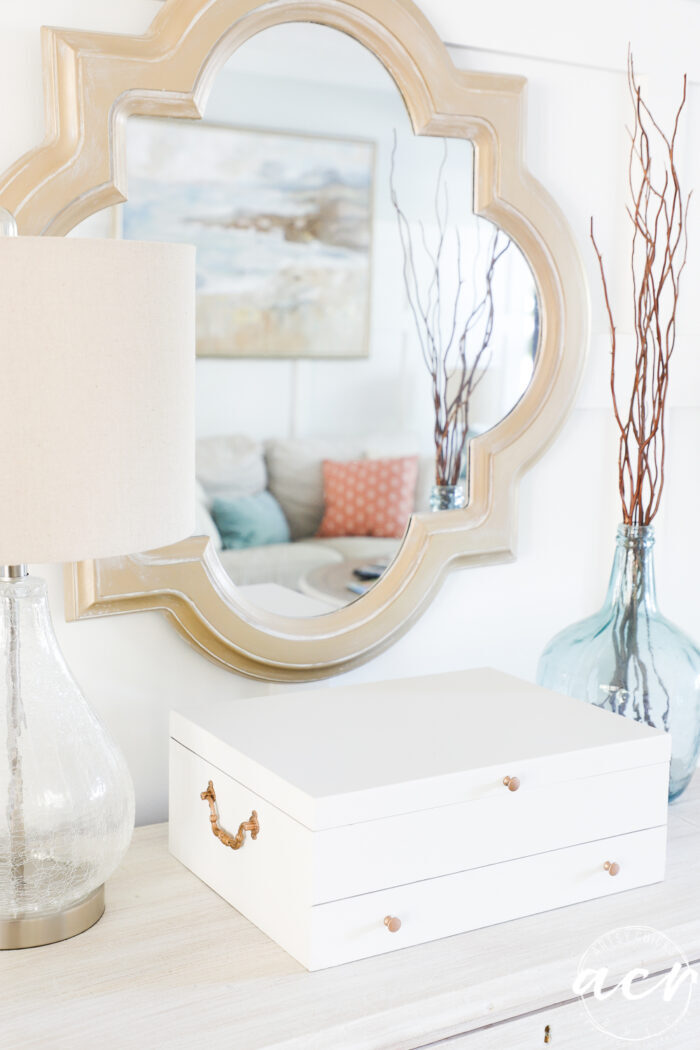
My husband is going to use them in his dressing area but it would be great for so many things.
Jewelry, note cards, and pens, mail, stamps, etc. So many uses! And who doesn’t need more storage?
PIN it to save it!
Don’t go yet, click on over to see what my friends did with their makeovers this month too!
See you later this week with my post and tutorial on painting ceramic tile flooring. (I painted our bathroom floor tiles!) Don’t want to miss it? You can sign up to be a subscriber, here.
Have a wonderful week!!
xoxo

Follow Along Here!
[ad_2]
Source link


