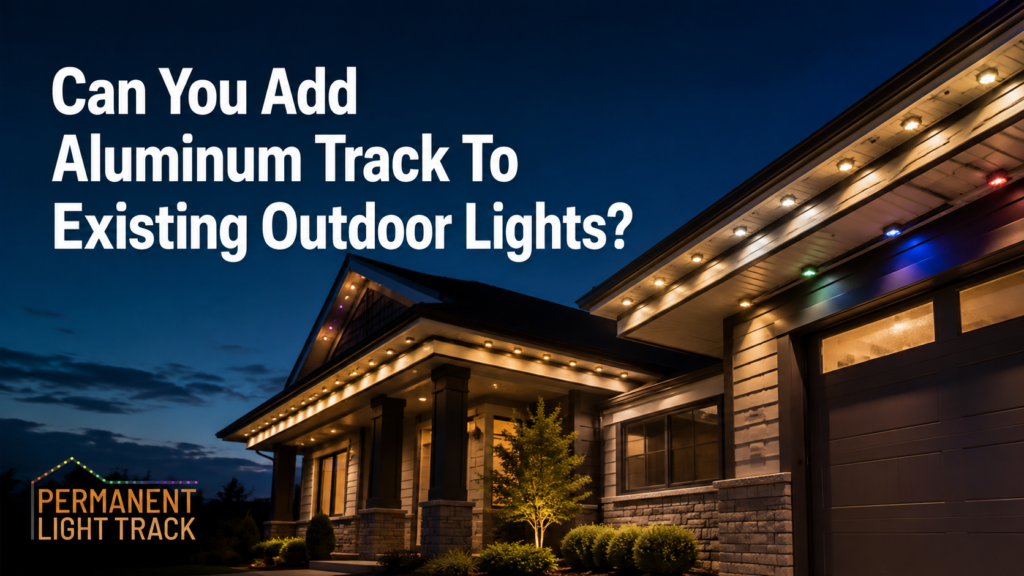
Permanent outdoor lights can work beautifully after sunset while visible wire, loose adhesive, or uneven spacing leaves the roofline looking unfinished during daylight. Adding aluminum track can give an existing system a cleaner and more secure mounting structure without replacing functioning lights.
A successful retrofit starts with compatibility, component inspection, and a clear plan. Here is what homeowners should know before moving permanent outdoor lights into aluminum track.
Can Existing Permanent Lights Be Added To Aluminum Track?
Yes, many existing permanent outdoor light systems can be moved into aluminum track. The lights must be in sound condition, the surface must accept suitable exterior fasteners, and the track must match the light heads and factory spacing.
Track is useful when an installation has exposed wire, sagging sections, crooked light heads, or failing adhesive. A rigid channel supports the cable, keeps the run straight, and conceals much of the wiring. Powder-coated aluminum also provides a durable finish that can blend with soffits, fascia, or trim.
Check The Existing Lighting System First
Inspect the run from the power supply to the final light before buying track. Problems can be harder to reach after the lights are seated in the channel.
Look for:
- Cracked, pinched, or discolored cable
- Loose connectors or damaged seals
- Light heads that flicker or fail to respond
- Corrosion near connections or splices
- Sections pulled tight around corners
- Heat damage near the controller or power supply
- Adhesive residue that may interfere with track placement
Test every lighting zone and record the model number, kit length, and distance between light heads. Repair or replace damaged electrical components according to the manufacturer’s guidance before continuing.
Match The Aluminum Track To The Exact Model
Permanent light heads vary in width, height, cable placement, and spacing. An incompatible profile may leave a light loose, pinch its cable, or place openings in the wrong locations.
Homeowners can choose aluminum track for Govee Permanent Outdoor Lights made for Govee 2, Govee Elite, and Govee Pro. The Pro profile has different dimensions and spacing from the Govee 2 and Elite profile, so confirm the exact model.
The available aluminum track for ASAHOM Pro lights is designed specifically for the ASAHOM Pro S1080. It does not fit non-Pro ASAHOM models.
| Detail To Confirm | Why It Matters | Where To Find It |
| Brand and model | Determines the required track profile | Product label, box, app, or receipt |
| Kit length | Helps determine track quantity | Original order or measured light run |
| Light spacing | Must match the track openings | Manufacturer details or direct measurement |
| Mounting surface | Determines suitable exterior fasteners | Soffit, fascia, siding, wood, or masonry |
| Track color | Helps the channel blend with exterior trim | Daylight comparison against the home |
Plan The Retrofit Before Removing The Lights
Measure the installed route and note every peak, corner, gap, downspout, and change in mounting surface. Light-kit length may not equal exact track coverage because aluminum sections come in fixed lengths.
Sketch the roofline and label the starting point, controller, extensions, splices, and power source. Mark any area where cable will remain uncovered.
Choose fasteners that suit the surface and outdoor exposure. Wood, thin aluminum fascia, and masonry require different screws or anchors, which are commonly sold separately. Clean old adhesive and dirt with a surface-safe method so the track can sit flat.
How To Retrofit Existing Lights With Aluminum Track
Follow the instructions supplied with the track and lighting system. A typical retrofit includes these stages:
Disconnect And Label The System
Disconnect power. Label extensions, branches, and removable connectors. Support the cable so long sections do not hang from one attachment point.
Remove Existing Mounts Carefully
Release clips, screws, or adhesive pads one section at a time. Clean residue and inspect the mounting surface for damage.
Mark A Straight Track Path
Use a chalk line, level, or guide piece to mark a consistent route. Confirm that every light will face the intended direction.
Cut And Fasten The Track
Measure before cutting. Tin snips handle many adjustments, while a miter saw equipped for nonferrous metal can produce clean angle cuts. Wear eye and hand protection, then secure the back channel with suitable exterior fasteners.
Load The Lights And Cable
Place each light head into its opening without twisting the wire. Maintain gentle cable curves and avoid pressure on connectors. Seat the front track according to the product instructions.
Reconnect And Test Each Run
Reconnect and test before completing difficult-to-access sections. Check colors, scenes, extensions, and the final light in every run.
Common Retrofit Challenges To Expect
Track may reveal short extensions, tight corners, or unexpected changes in light spacing.
Common challenges include:
- Roofline gaps that require approved extension cable
- Tight peaks that need accurate angle cuts
- Uneven soffits that affect the track path
- Old splices that need inspection and weather protection
- Incompatible light heads or spacing
- Obstructions near vents, gutters, cameras, or downspouts
- Limited ladder access on upper stories
Dry-fit short sections around difficult transitions before fastening a long run.
When A Professional Installer Makes Sense
A homeowner comfortable measuring, cutting aluminum, drilling, and using a ladder safely may be able to complete a straightforward single-story retrofit.
Professional help is appropriate for steep roofs, high rooflines, masonry, electrical damage, complex peaks, and areas near service lines. An installer can assess fastening points hidden behind thin soffit panels.
Work in suitable weather, keep the area below clear, and follow the ladder manufacturer’s instructions.
Give Existing Lights A More Finished Installation
Aluminum track can upgrade an existing system when the lights remain in good condition and a compatible profile is available. It supports even spacing, conceals cable, and gives the roofline a more finished daytime appearance.
Confirm the exact model first, inspect the complete system, measure the real installation route, and choose fasteners for the mounting surface. Careful preparation helps preserve the lights you already own while creating a secure installation designed for year-round use.
About the Author